How to Build a Simple Email Automation System for Local Clients Using Free Tools
Disclosure: our content is reader-supported, which means we may earn commissions from links at no cost to you.
If you work a full-time job and run client work on the side, your time is your most precious resource. Every manual follow-up email you send eats into that time.
A simple email automation system can change that. It quietly collects leads, sends welcome emails, and warms up prospects while you sleep or sit in traffic.
You do not need to be a developer. If you can use Google Forms and Gmail, you can set this up for a local dentist, gym, or real-estate agent and even charge for it as a tidy side hustle.
What a Simple Email Automation System Can Do
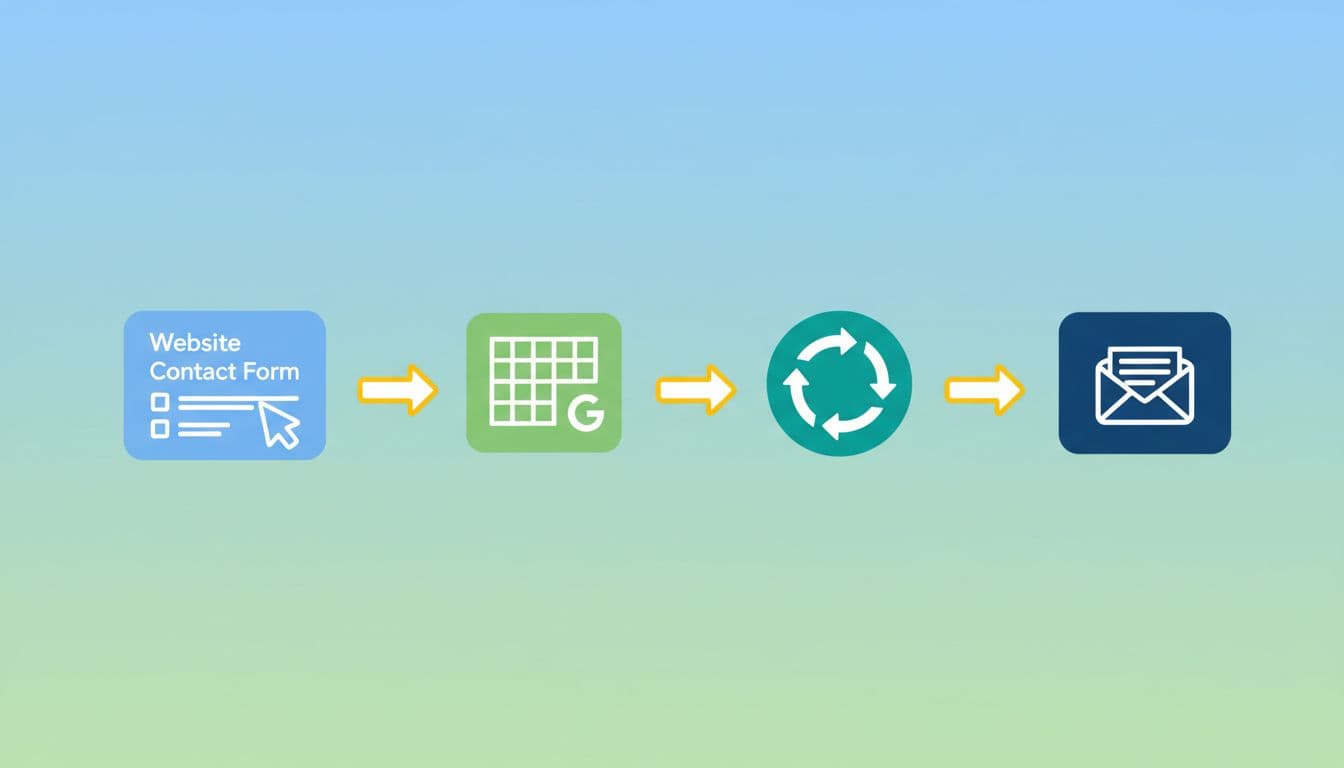
Here is the outcome you are building.
Someone fills out a contact form on a local business website. Their details drop into a Google Sheet. An automation tool sees the new row and fires off a welcome email, then a short follow-up sequence over the next few days.
Example: a dentist gets a “New patient lead” form on their site. As soon as a lead submits the form, they receive:
- A warm confirmation email
- A “what to expect at your first visit” email
- A reminder to confirm or reschedule
All on autopilot, using free tiers of well-known tools.
Step 1: Capture Leads With a Form and a Google Sheet
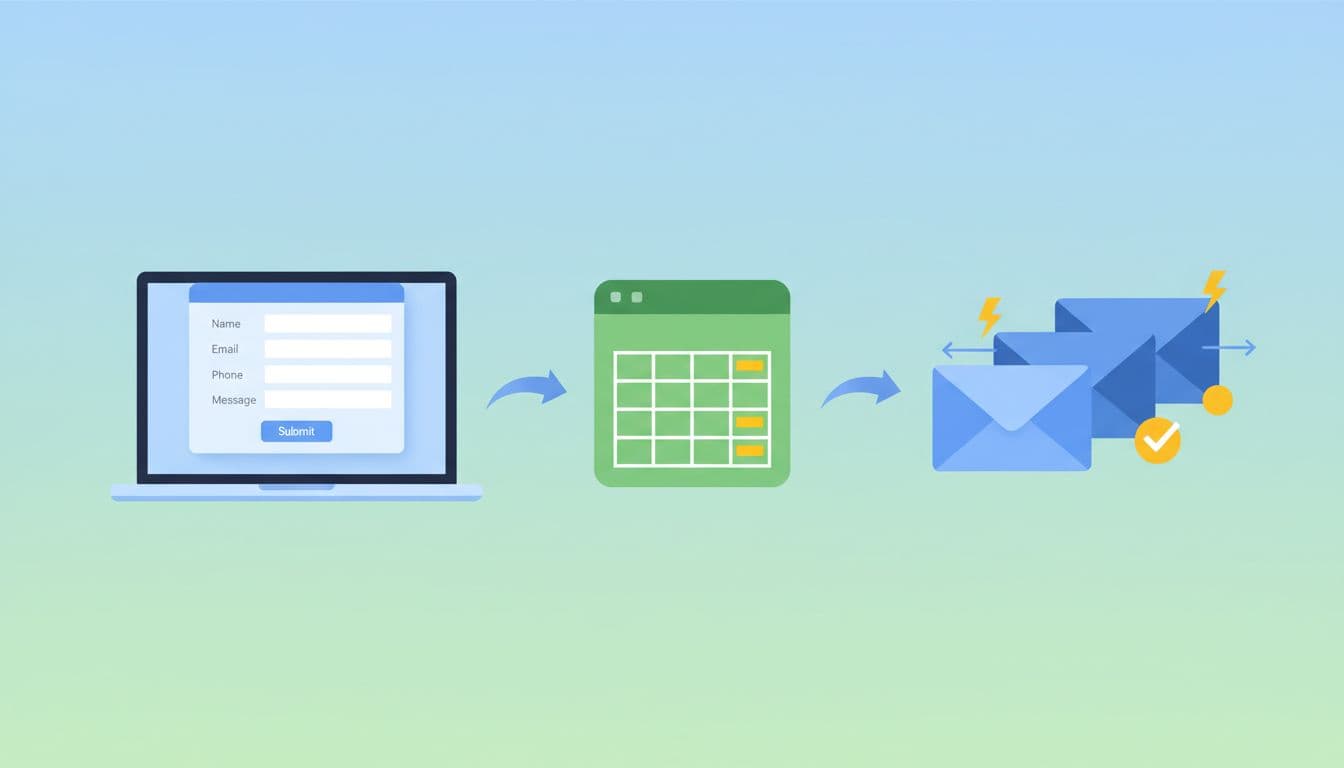
Start with a simple, free stack:
- Google Forms to collect leads
- Google Sheets to store them
Create a new Google Form with fields like:
- Name
- Phone
- Service they are interested in
In the “Responses” tab, link it to a new Google Sheet. This sheet is the heart of your system.
To keep things tidy for multiple clients, use clear names:
- Form:
Dentist – New Patient Inquiry - Sheet:
Dentist – Leads – 2025 - Tab:
Form Responses
You can embed the form on the client’s site or link to it from their “Book now” button. The key is that every lead ends up as a fresh row in that sheet.
If you prefer a different form tool, that is fine as long as it can send data into a sheet or a similar table.
Step 2: Pick Free “Glue” To Trigger Your Emails
Now you need something that watches the sheet and sends emails when a new row appears. Tools like Zapier, Make, and other no-code connectors do this very well.
A simple starter option is Zapier. You can follow recipes like Zapier’s own template to send emails for new Google Forms responses in a spreadsheet.
At a high level you will:
- Set the trigger to “New spreadsheet row” in Google Sheets.
- Connect it to your client’s lead sheet.
- Add an action step that sends an email from Gmail or another provider.
Zapier’s free plan is usually enough to get started for a very small local business, but it caps the number of tasks per month. When your client grows or wants more workflows, move them to a paid tier or another tool.
If you want other options, Themeisle has a good comparison of free Zapier alternatives that still work well for simple email triggers.
Step 3: Write a 3‑Email Welcome Sequence for a Local Client
This is where you turn a cold lead into someone who trusts the business.
Picture that dentist again. You can set up a simple three-email flow:
Email 1: Instant confirmation (send immediately)
“Thanks for reaching out, here is what will happen next.” Include:
- A short thank-you
- When they should expect a call or email
- A link to directions or parking info
Email 2: Build comfort (send 1 day later)
Share what a first visit feels like. Add:
- A friendly note from the dentist
- A quick list of services
- A link to testimonials or Google reviews
Email 3: Nudge to take action (send 3 days later)
If they have not booked, invite them to pick a time. Offer:
- A reminder that spots fill up
- A simple call to book or reply
- Optional low-key incentive, like a free whitening check
Write in plain, human language. Use the lead’s first name from the sheet so each email feels personal.
You can copy and paste these emails into your email automation tool of choice.
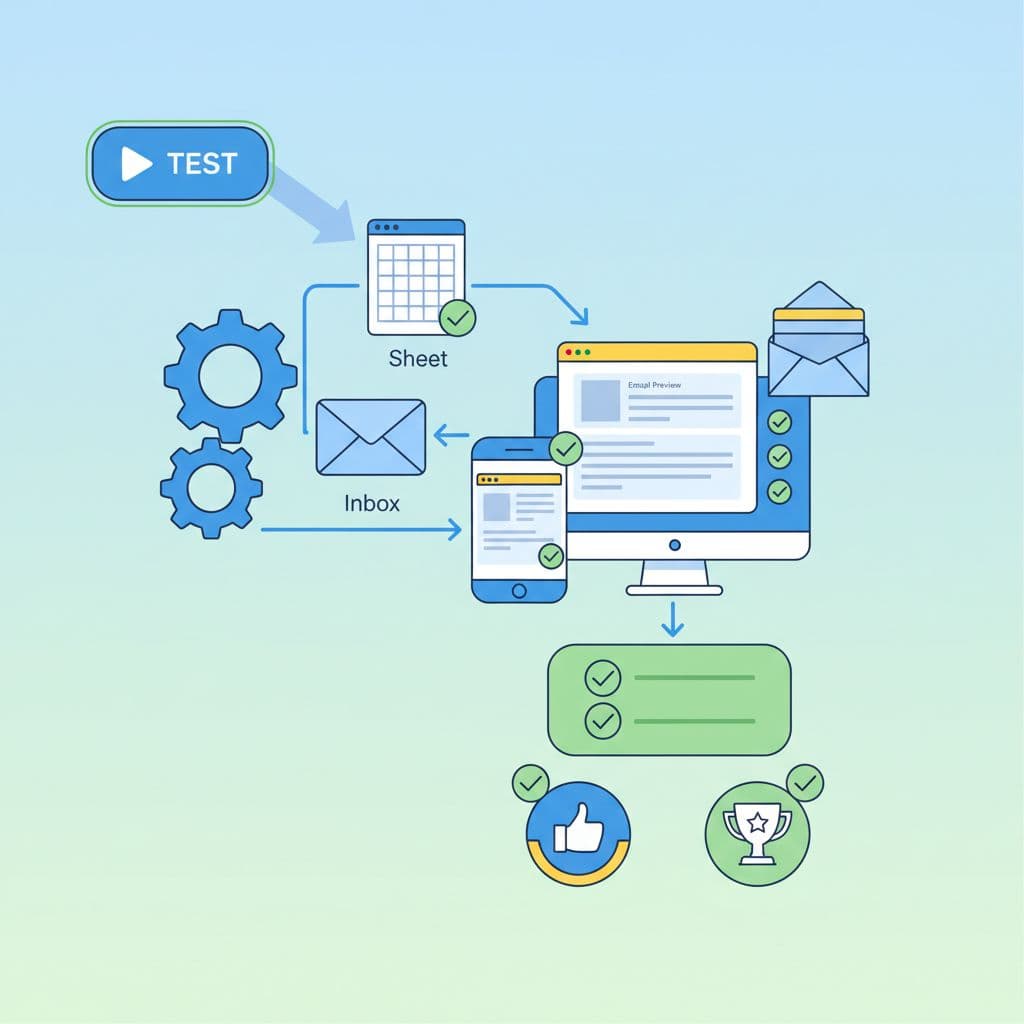
Step 4: Connect Your Sequence and Test Everything
You have the pieces. Now wire them together.
In your automation tool:
- Trigger: New row in the “Leads” sheet.
- Action 1: Send Email 1 from the client’s address.
- Action 2: Delay 1 day, then send Email 2.
- Action 3: Delay 2 more days, then send Email 3.
Tools like Zapier provide ready-made flows to connect Google Sheets with email, so most steps are dropdowns and fields you map.
You can connect to Gmail, or you can connect to a free email service, like Mailer Lite or Constant Contact. Many of these tools let you import from Google Sheets and send simple sequences on a free plan.
Before you show anything to a client, test like crazy:
- Add your own email as a “fake lead”
- Fill out the form once
- Watch the sheet, confirm your row appears
- Check that each email arrives on the right day
- Test on desktop and phone
Fix spelling, broken links, and sender names. A sloppy test email can kill trust fast.
Step 5: Document Your Setup So You Can Reuse It
Treat this like a tiny product, not a one-off project.
Create a simple one-page doc for each client:
- Names and links for the Form, Sheet, and automations
- A list of each email with subject line and timing
- Screenshots of the key settings
Use a standard pattern like:
- Folder:
Client Name – Email Automation - Sheet:
Client Name – Leads – Year - Automation:
Client Name – Lead Welcome Sequence
When a new local client comes along, you can copy the folder, swap in their branding and text, and be live much faster. That is how you turn one weekend build into a repeatable side hustle offer.
Free Plan Limits and When to Upgrade
Free tools are perfect for proving your value, but they do have walls.
Here are common limits you need to watch:
- Gmail sending caps limit how many emails you can send per day from one account
- Automation tools like Zapier cap the number of tasks or runs each month
- Free email marketing tools limit list size and monthly sends
As soon as a client starts hitting those limits, they will feel the pain. Emails stop sending, or new leads do not get the sequence.
At that point, you can recommend a paid tier or a more robust platform. Make the upgrade part of your offer. You handle the move, they pay for the tool and your time, and their new system keeps printing warm leads.
Conclusion
A simple email automation system takes a local business from “we reply when we remember” to “every lead is welcomed on autopilot”. For a side hustler, it is a neat package you can sell again and again.
Start with a form, a sheet, and a free automation tool. Add a short, honest email sequence, test it, and write down how you built it. Then reuse that blueprint for the next dentist, gym, or salon that needs more booked appointments.
Set it up once, let the system work every day, and let your free time go to higher-value work instead of copying the same email for the hundredth time.
No responses yet